Painting requires patience because how your job looks at the end depends so much on how you prepare at the beginning. Skipping steps in the prep process is often the difference between a pro-level finish and a paint job that you'll have to revisit in six month's time. The good news is that prepping for painting isn't hard to do, it just takes an investment of time. Follow these key prep steps to get a pro-level look from your next DIY painting project.
-
The Right Tools for the Job
Before you get started, make sure you have everything you need for the job. You'll want painter's tape, drop cloths, brushes, rollers, roller pads, a roller extension, scrapers, sandpaper, plastic, primer, and paint. Choosing high-quality roller pads and brushes will cost more up front, but makes it much easier to get a professional look. -
Cover Anything You Don't Want to Paint
If you're painting rooms inside your home, then you'll want to cover or remove everything that you don't want the paint to touch. Painting can be a messy job even when you're careful, which is why even pros cover everything. Use painter's tape to cover edges, plastic for furniture you can't remove, and drop cloths to cover the floor. Removing the outlet and light-switch covers will also make your life much easier when it's time to start painting. -
Pick a Dry Day
Even with painting indoors, it helps to choose a day that's not rainy or humid. High humidity causes the paint to take longer to dry, which can lead to drips and inconsistencies in the finish. If you have to paint on a humid day, take your time and fix drips before they dry. -
Prep Before You Prime
The real secret to a professional finish is in how you prep the surface. If you're painting an older outdoor surface, then you may have to wash the surface, scrape old paint, and sand away damaged wood before you start. Even indoors, you'll want to do some light sanding and wash walls before you apply primer. On older surfaces, prep can take almost as much time as painting, but the results are more than worth the effort. -
Prime Every Time
Once a professional painter has the surface prepped, they apply a coat of primer to seal the surface, prevent stains, and create a smooth surface for painting. After you apply your primer, wait for it to dry completely before you start painting. If prepping is the biggest pro secret, primer ranks just behind. It's an extra step, but it leads to a more attractive, durable finish. -
How to Apply an Even Finish
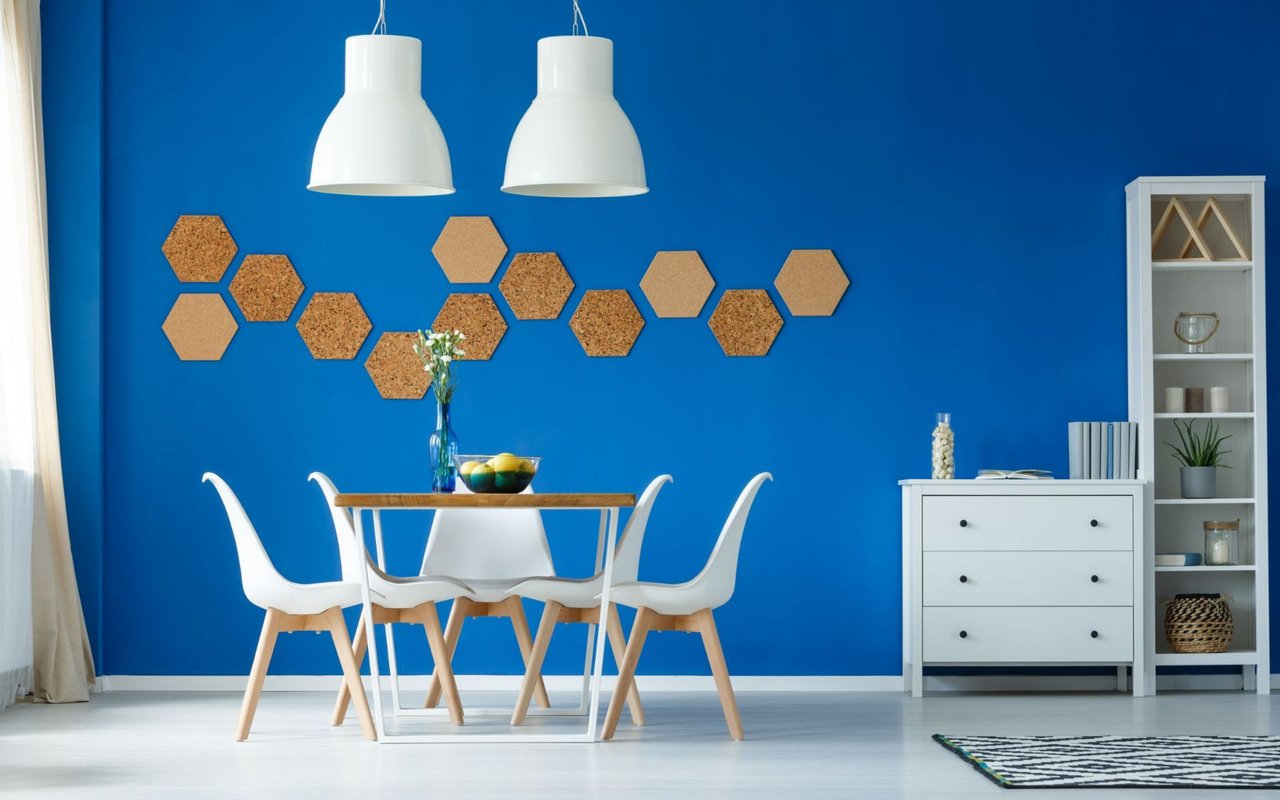
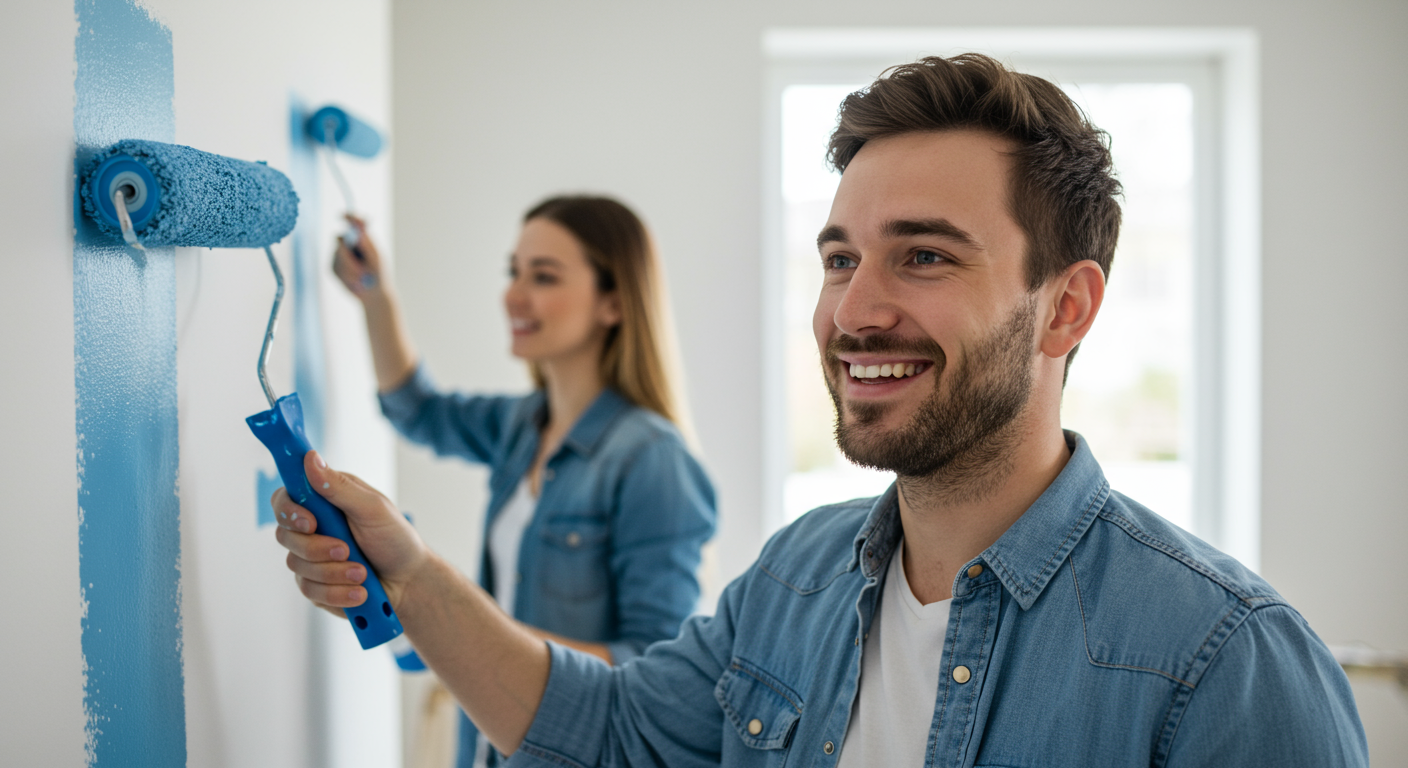
When it's time to break out the rollers and brushes, you'll really begin to see your prep work paying off. It's much easier to apply an even finish to a properly prepared surface, but there's still work ahead. To apply an even finish, start by cutting in around the edges with your brush, then work from top to bottom with your roller. Let the roller do the work of applying the paint, and use a roller extension to reach high places. Make sure you let your first coat dry before applying a second coat for a truly professional finish.
It may be a cliché among professional painters, but that's only because it rings so true. The time that you invest in prep work is the key to an attractive, durable finish, and preparation will make your life much easier when it's time to start painting.